A small logo can change the character of an everyday pair of sweatpants. It can tie a piece to your clothing brand, carry an original symbol, or connect with a graphic on a matching tee. Because the print area is compact, the clearest result usually starts with a deliberate, uncomplicated mark.
MB POD Studio's custom logo sweatpants use a single image-upload area on the upper thigh. Choose Black or Off White, select a size from S through 2XL, and adjust your logo inside the live preview. The listed product price is $20 per pair, including the supported logo customization; shipping is added separately.
This guide covers the decisions that matter for a small logo: the file you upload, its position, the garment's proportions and the details you review before sending a request.
Start With The Sweatpants Silhouette
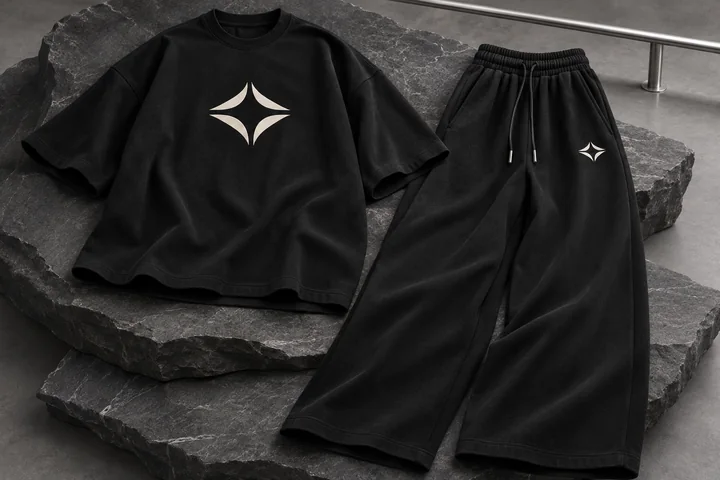
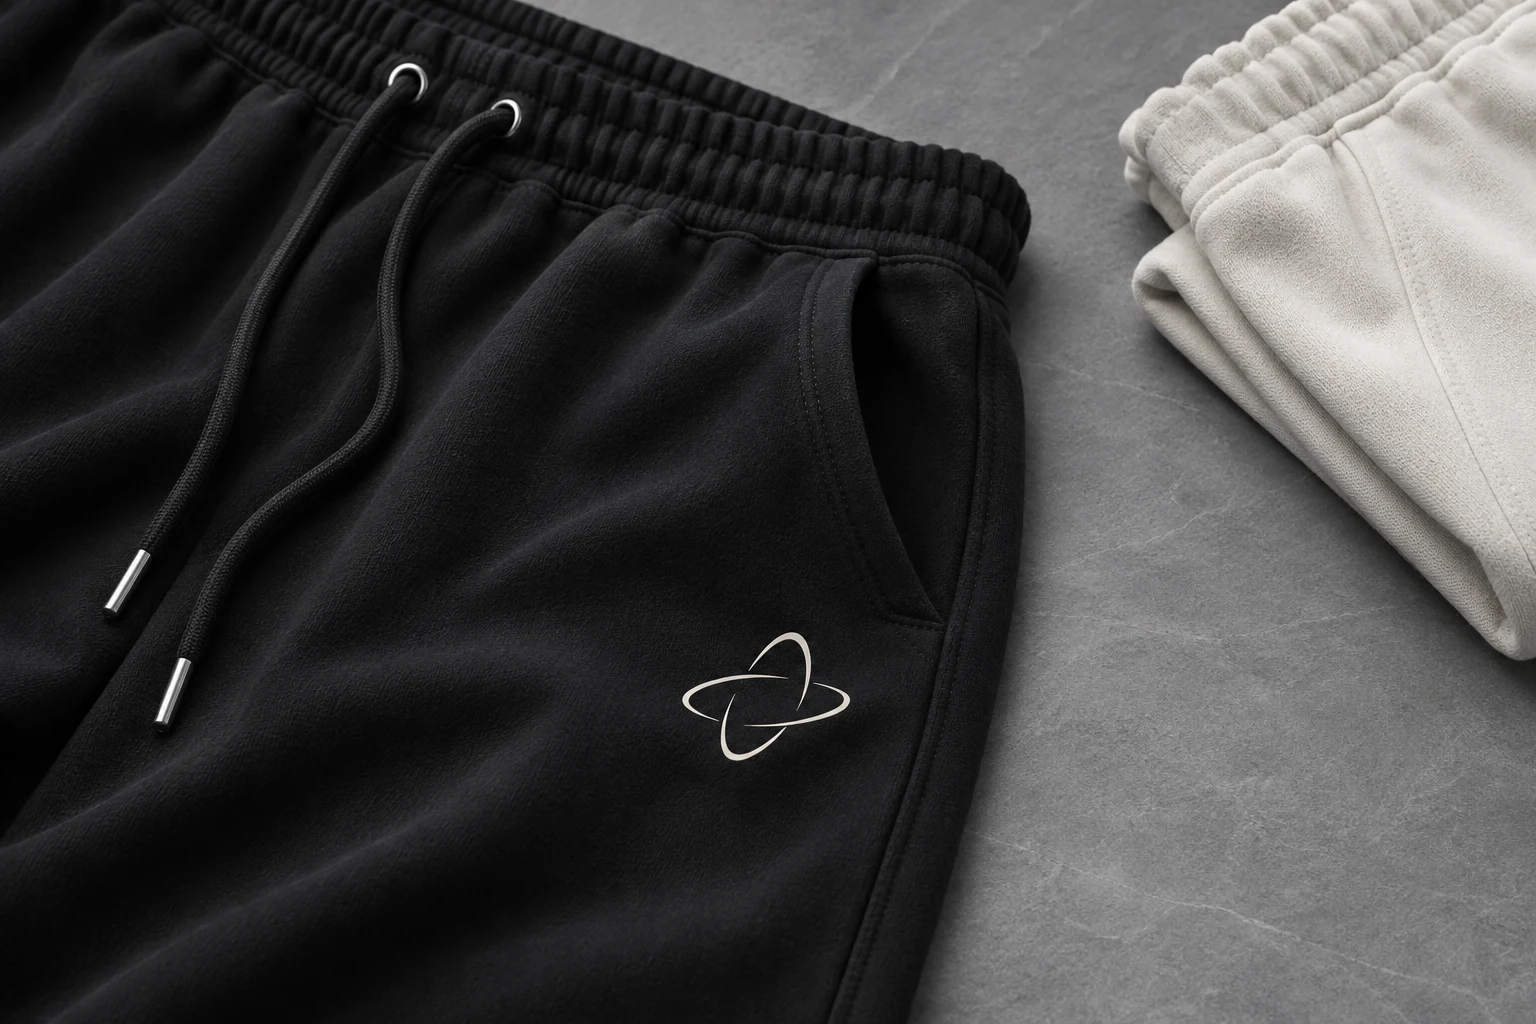
The MB POD sweatpants have a relaxed wide-leg shape in 260 GSM cotton-blend terry, with a drawstring waist and deep front pockets. The shape gives you a clean foundation for a quiet upper-thigh mark.
Think about where the pants will sit in your wardrobe or collection. A subtle logo can work with several tops, while a more visible symbol can echo a main graphic elsewhere in the outfit. Choose the role before increasing the print size.
Open the Sweatpants studio to inspect the actual product photograph. The header image on this article is an editorial illustration of a logo concept, rather than a production proof for your request.
Choose Artwork That Reads At A Small Size
A detailed T-shirt-back illustration is not automatically a useful pants logo. Fine lines, tight lettering and tiny gaps can become difficult to read when the design is small. Start with the simplest version that still identifies your idea.
Prepare a clear symbol or short wordmark with enough space around its main shapes. Inspect the file at a smaller viewing size before uploading. If the design becomes unclear on your screen, revise the original instead of relying on the preview to rescue it.
A transparent PNG can keep the fabric visible around the artwork. JPG files retain their rectangular background; that may be intentional, but it should be a choice. The studio also accepts WebP, with a maximum file size of 10 MB. Use artwork you own or have permission to reproduce.
See the MB artwork preparation guide if you need a closer look at file detail and transparent backgrounds.
Use The Dedicated Upper-Thigh Logo Preview
The sweatpants workflow has one Logo upload rather than the T-shirt front and back options. This keeps the request tied to the supported pants area and makes it clear which original file should be used.
After uploading, use the size slider to judge the logo's relationship with the pocket and leg. Drag it within the guide, or use center, top and bottom alignment. Fine-tune horizontal and vertical position if the first placement feels unbalanced.
Look at the complete pants between close adjustments. A mark that seems tiny in the large preview may be appropriately restrained when considered as part of the whole outfit. The dashed guide is an editing aid and is not part of your print.
The visual preview does not establish an exact physical print dimension. If your project depends on a specific logo width or distance from a seam, confirm those requirements with Minimal Basics before production.
Compare Black And Off White For Contrast
The same artwork can look different on the two available colors. A light mark is easier to distinguish from Black; a dark version can give Off White more definition. A tonal effect may suit your concept, but review it at a normal viewing size as well as close up.
Keep light and dark artwork versions in separate, clearly named files. For example, a file name can describe its intended garment color and revision. That makes the original easier to identify when you return to a saved cart or review a sample.
If you want to repeat one logo across multiple colors, apply it across the selection queue, then revisit each entry. Reusing a file is convenient; checking each color is still part of the design decision.
Use All Four Measurements In The Size Chart
Open Size chart beneath the size buttons. The in-studio popup gives waist, hip, outseam and inseam measurements, with an inches-to-centimeters switch.
| Size | Waist (in) | Hip (in) | Out Seam Length (in) | Inseam (in) |
|---|---|---|---|---|
| S | 30 | 36 | 39 | 27 |
| M | 32 | 38 | 40 | 27 |
| L | 34 | 40 | 41 | 27 |
| XL | 36 | 42 | 42 | 27 |
| 2XL | 38 | 44 | 43 | 27 |
Do not choose by waist alone. Hip room and the relationship between rise and overall length affect the silhouette too. Compare with a pair you like using the same measuring method, and ask for clarification if you are comparing a flat width with a listed circumference.
For reference, the listed 30-inch waist converts to 76.2 cm, while the 27-inch inseam converts to approximately 68.6 cm. The popup handles the conversion for the full chart without changing your selected size.
Build Several Color And Size Selections Together
Set a quantity for the first color and size, then use Add color / size for another entry. Each selection can carry its own logo artwork. You can give Black one treatment and Off White another without starting a separate workflow for every pair.
Use the queue to inspect each saved choice before the final review. Confirm the size, quantity and file name rather than assuming every entry matches the first one. The order limit is 30 products total, including other products already in your bag.
The Co-ord Set is a separate option if you want a matching T-shirt and pants as one product with coordinated artwork.
Check Price, Shipping And Customer Delivery
At the current $20 sweatpants price, one pair with standard POD shipping totals $27.95 before tax. Three pairs total $60 in products plus $17.85 shipping, or $77.85 before tax. Logo customization does not change the sweatpants unit price.
The review lists standard USA shipping of 3–10 business days, with $7.95 for the first POD product and $4.95 per additional product. Review any rush upgrade and confirm the production schedule for deadline-sensitive requests.
For customer deliveries, check the direct-to-customer box and enter the recipient's details. The workflow records your no-MB-branding preference and optional price-on-package instruction.
Submitting creates an unpaid order request, with no online payment collected. Confirm payment and fulfillment arrangements with Minimal Basics before promising a dispatch date to someone else.
Custom Sweatpants Questions
Can I Upload A Front And Back Design?
This sweatpants product supports one logo image in the upper-thigh area. It does not offer separate front and back artwork slots.
Can Each Color Have A Different Logo?
Yes. Use the queue to switch between your selections and upload the version for that color. Apply-to-all is available when the same file should be reused.
Are These An Embroidery Product?
The current workflow requests an image for the supported print area. Do not assume embroidery or a particular production method from a mockup; confirm any technique requirement with Minimal Basics.
How Can I Review The Logo Before Selling?
Prepare a sample request in the Sweatpants studio, confirm the arrangements, and inspect the physical garment and logo together before offering the design to customers.